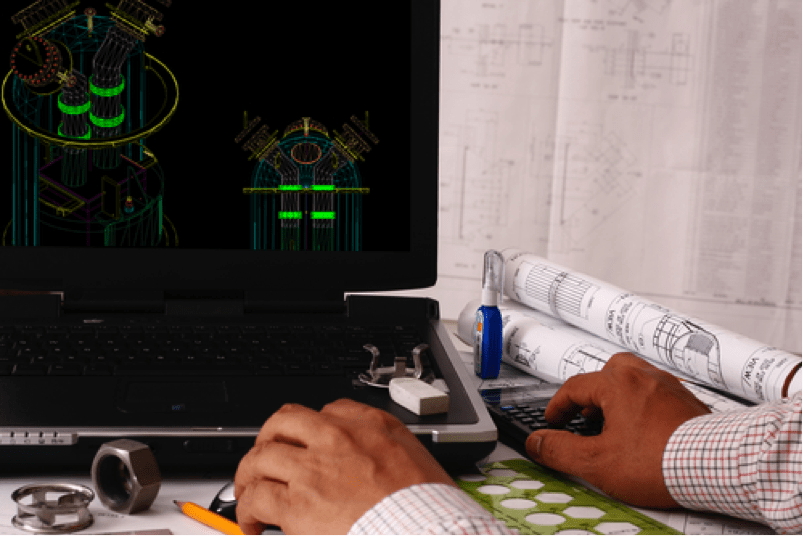
Computer Aided Design (CAD) software is now the default tool for drawing perfectly rendered objects on a computer screen, which are then transferred to a manufacturer to make the actual part. But there’s a danger in thinking that anything that can be designed can just as easily be made. Software programs are capable of drawing dimensions that are far more accurate and exacting than can be achieved by machine tools and materials in the real world. But what do we mean by words like “accuracy” and “precision” when we’re talking about how parts are made and how closely they come to the ideal generated on the computer?
To clear up any confusion about terminology, we want to clarify what accuracy, precision and tolerance mean. Then we can transform this knowledge into practical advice which will help your designs go from the computer to the factory floor more quickly, easily and with better results.
Accuracy: Degree of Conformance to a Known Standard or Value
The international standard for length is the meter, and its value is a universal one based on the distance that a beam of light travels in a certain fixed period of time. So, accuracy is the degree to which a measurement or movement in space conforms to a systematic standard or one of its derivatives – typically the millimeter or micron for metric measurements.
Thus, when a CNC machine tool is touted as being highly accurate, this means that if it’s programmed to cut a piece of metal 40mm long, then the machine actually does that. The more accurate it is, the closer it gets to exactly 40mm, with no error.
Useful information: More accurate is not necessarily better for many applications. Achieving ever greater degrees of accuracy costs time and money for diminishing returns. In addition, getting high accuracy in one area of a design often requires sacrificing accuracy elsewhere. But rest assured that modern CNC cutting tools are reliably accurate for the vast majority of projects.
Precision: Repeatability of a Measurement or Action Without Generating Random Errors
For CAD software, it’s safe to assume that design drawings are absolutely precise. They will reliably repeat any design feature with perfect fidelity as many times as you wish. This is one of the great labor-saving wonders of computer design.
In the factory, precision for a machine or process is the ability to repeat an action the same way every time with no introduced or random error. Precise machining, or precise workmanship, is a testament to controlling the process and not deviating – regardless of whatever the measurement or process may be. This is often confused with accuracy and indeed the two terms are casually used interchangeably. However precision refers more to repeatability.
Useful information: In this case, precision is in the hands of the manufacturer, and this is really the performance you’re looking for. It’s precision that ensures your product comes out the same way every time, which is one of the essential features we refer to as “quality” for volume production. How do we measure precision? By specifiying tolerance.
Tolerance: Allowable or Predictable Deviation From a Standard
All machine tools will have a degree of free play or vibration in them – they must, or else they would be frozen, inert blocks. The tolerance therefore specifies the deviation away from a known value, expressed as a “+/-” number. So, if we have a machine tool that claims a tolerance of “+/- 1 mm”, this means the tool will potentially introduce a deviation of one millimeter with every cut or pass. Could be an extra millimeter, or too short by a millimeter or some fraction thereof.
Useful information: What’s true for the machine tool is also true for your product. You don’t want parts to fit together too tightly, without clearance. This would mean they are immovable, or impossible to assemble. Different metals and plastics expand and contract with temperature and moisture, so good design means allowing for this natural movement. And draft angles are necessary when parts need to be removed from an injection mold tool. We will discuss with you the recommended tolerances on all critical dimensions for your project, which will depend greatly on material, manufacturing process and part geometry.
Taken together, this means that accurate work comes close to the standard, precise workmanship is reliably accurate over and over again, while tolerances are controlled to within a small, acceptable degree of variability from one part to another.
For more information on this subject, we have a Design For Manufacturing page which gives more tips and techniques to avoid the most common design errors. And this chart specifies the tolerances you can expect when working with many kinds of injection molding plastics. Want to know still more? Contact us today for a free quotation and design review.
Tagged:


