There are many ways to improve your design drawings to make them faster, easier and cheaper to CNC machine while maintaining quality. One way is by understanding and optimizing your specifications for corner radii. Sometimes a few minor changes to your corner radii can make a big difference in price and delivery times. Here is some advice to consider for your next CNC machined project.
Only request tight tolerances on critical features
When you specify a corner radius on a 2D or 3D drawing, we recommend you only do so on features that perform a critical function for that part. In our experience, the critical feature is usually the place where your part fits together with something else. By limiting the number of specified radii, it allows the cnc machinist more freedom in making your part and avoids costly set-ups and measurement for non-critical areas.

Try not to go smaller than a .4mm radii on turned parts
Most CNC turning on a lathe is performed with turning inserts, which typically look something like a triangle or diamond.

Because of their unique shape and the way a lathe cuts, it’s possible to make very tight radii on edges and shoulders. But too often, designers think that smaller is somehow better, as in more precise or exacting. Smaller in many cases can make a poorer surface finish, since a very small radius cutter will make noticeable grooves like the scratches on the surface of a vinyl record. Larger radius cutters will create a smoother finish where the highs and lows are averaged out over a larger surface area. Unless necessary for your application, we recommend no smaller than 0.4mm. And larger radii can be machined faster so you save time.
When CNC milling, go with a standard radius of 3mm for inside corners
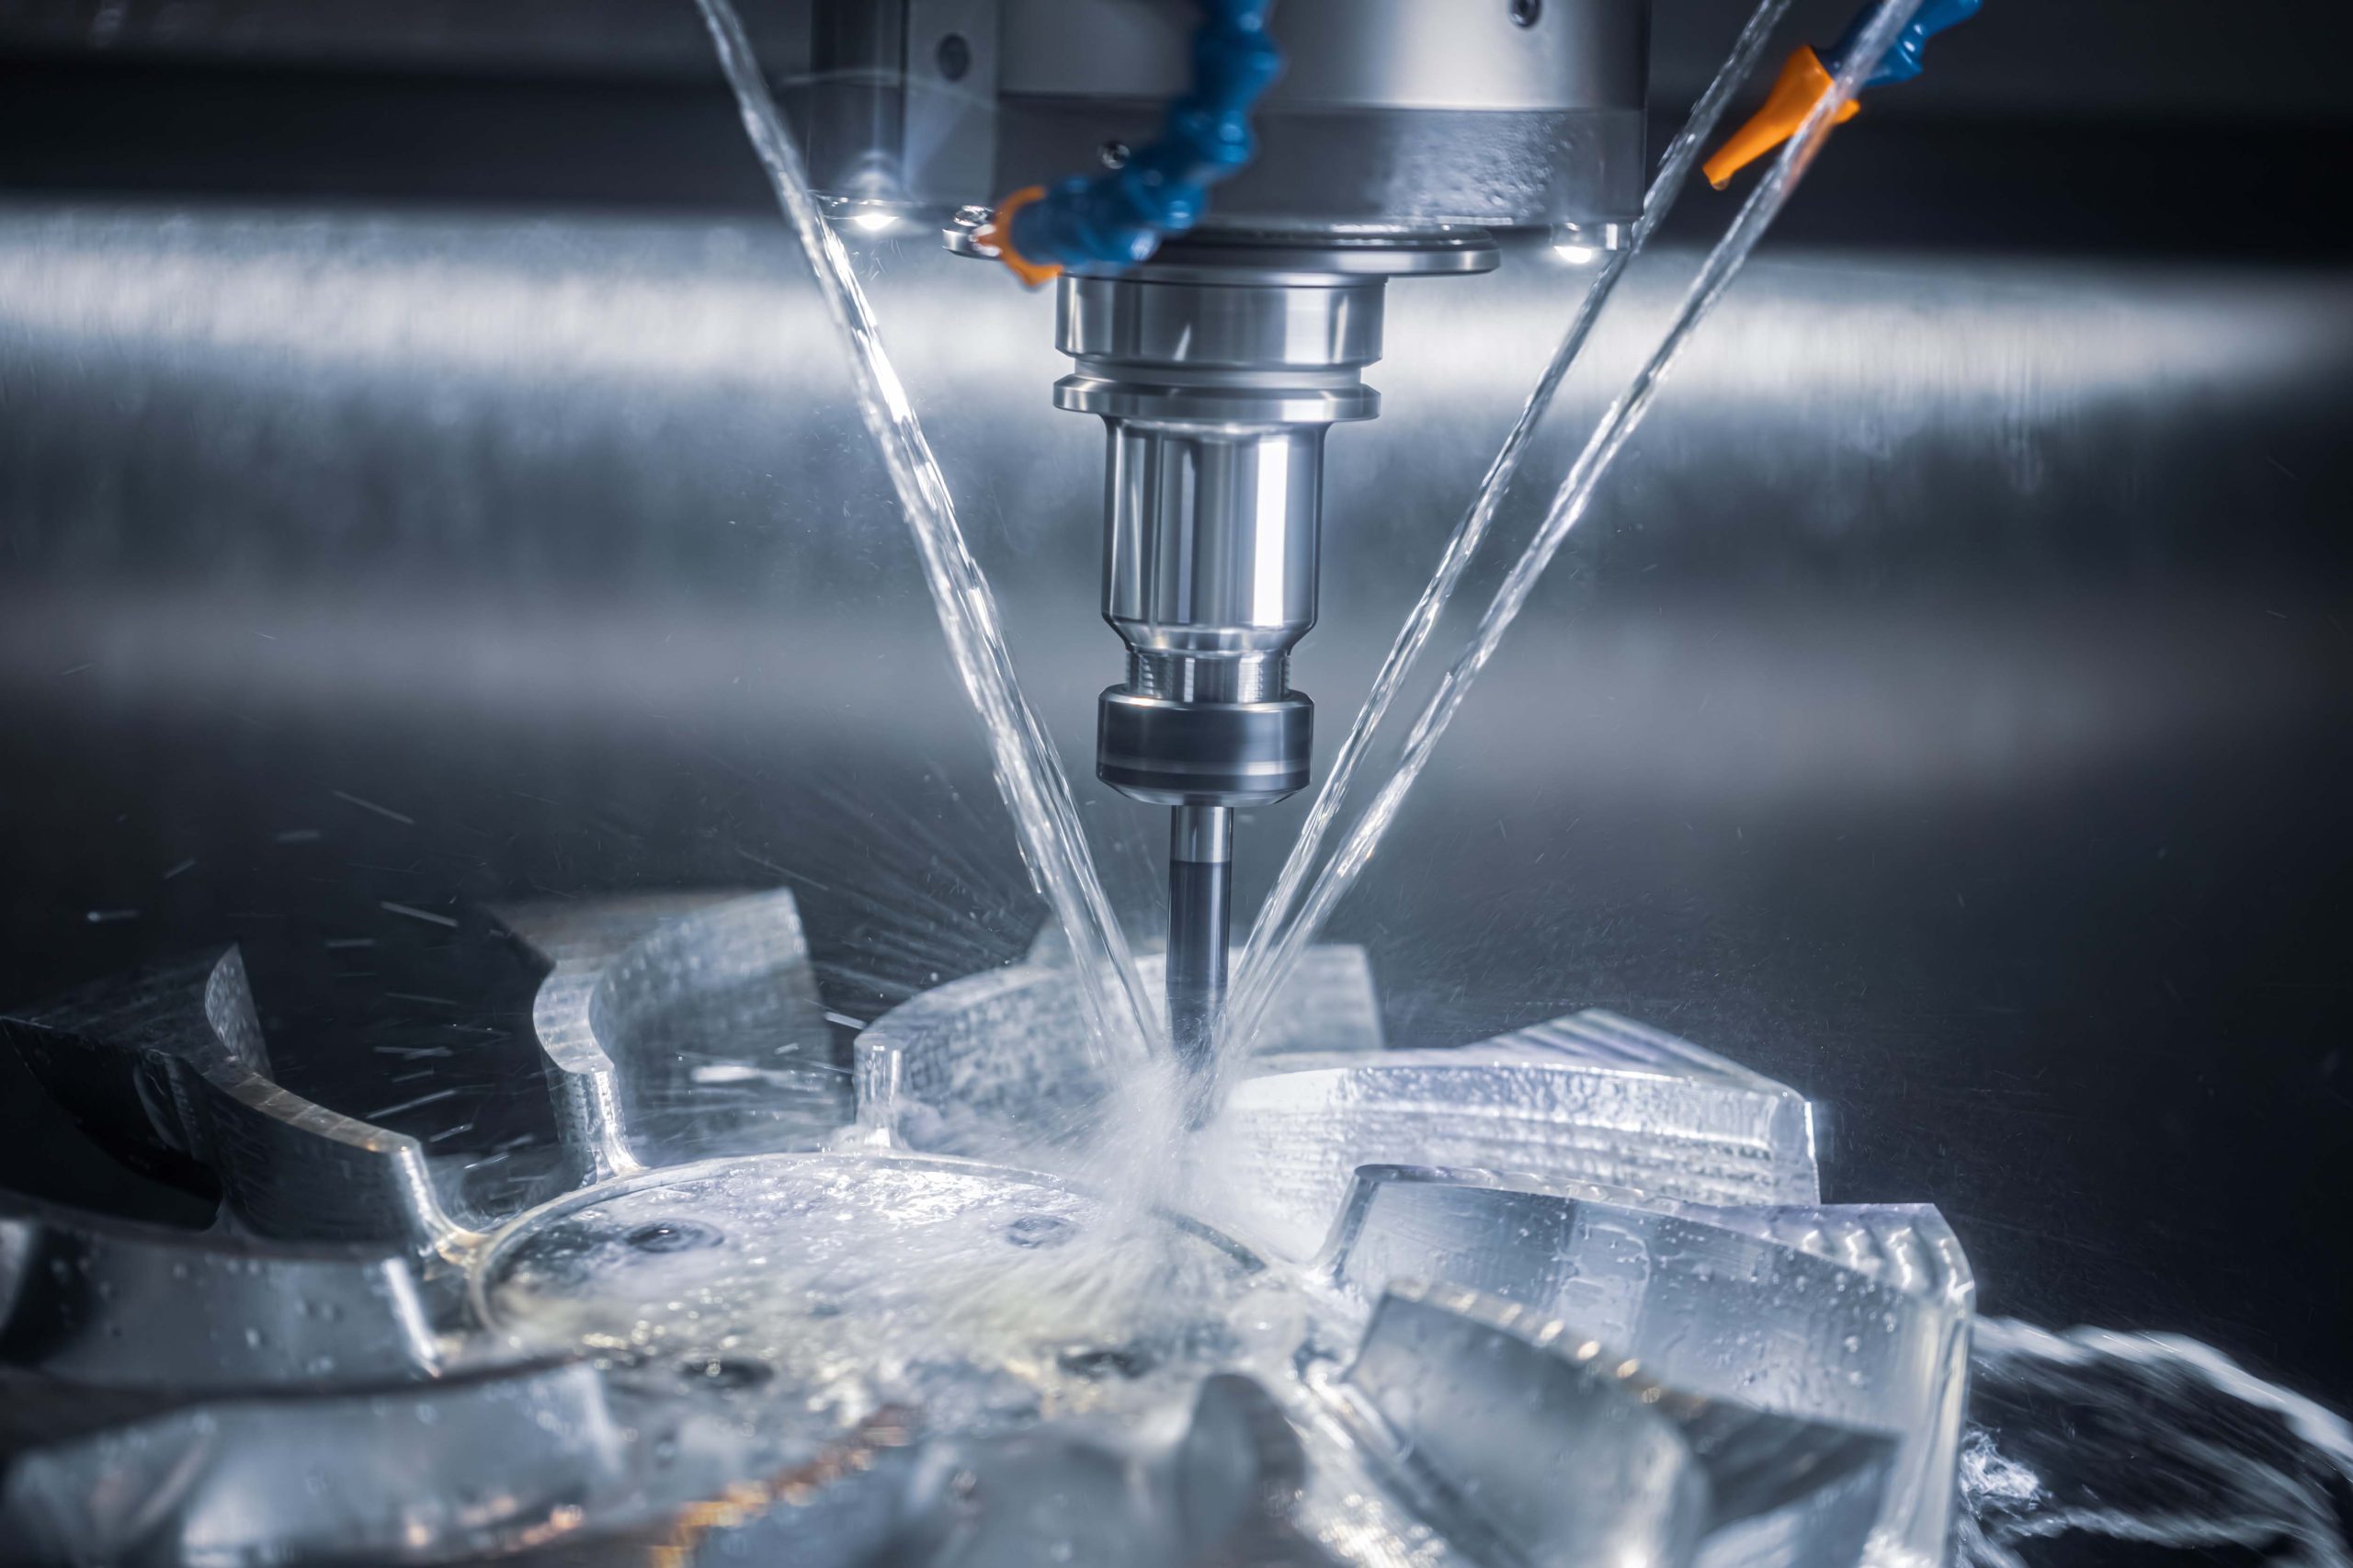
When milling 3D shapes and radii, a bull nose cutter is most often used. As with turning inserts, these rounded profiles create corner radii in their own size and shape. Milling small internal radii is time consuming, expensive and requires special set-ups. Some very tight corners can be made with wire EDM, but for most milling jobs we recommend no smaller than 3mm or 1/8”.
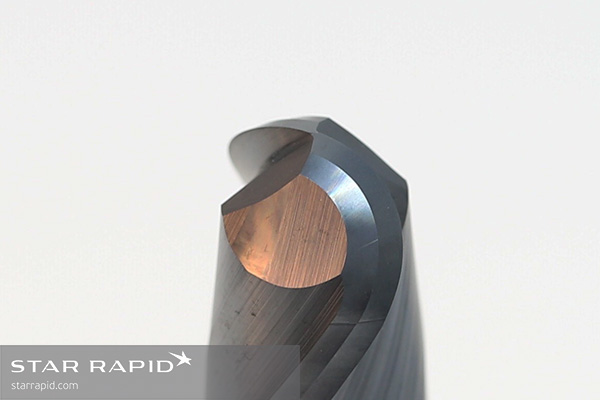
Why is it impractical to make smaller radii? On most CNC machines, milling is done at right angles to a vertical face, so it’s difficult to mill small radii on inside corners without requiring very small cutters which, in turn, must be run more slowly on a CNC mill. We can’t emphasize this point too strongly. A small, precise cutter must be fed into the workpiece at a substantially slower speed to prevent destroying it. And to machine a given surface area requires that the cutter make multiple passes, removing small amounts of material each time. This can greatly increase lead times, so we recommend avoiding this unless it’s absolutely necessary.

Where two flat faces meet on an outside corner, specify “sharp” on your drawings
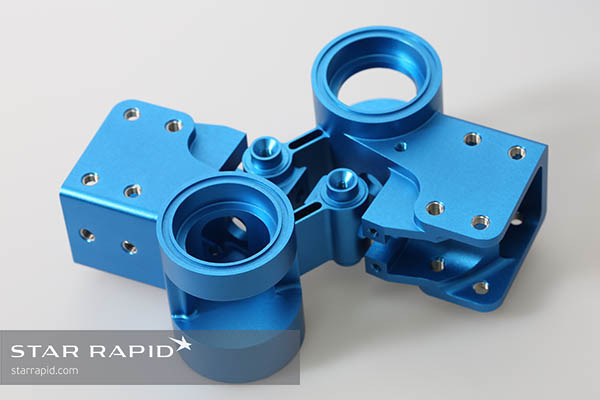
On a freshly finished 90° outside corner made in hard steel, a “sharp” edge with a small radius will be almost dangerous to touch. In use, such an edge will easily chip and so they’re almost always deburred by filing or otherwise rounded off to make the part more durable and easier to hold. In normal practice these radii won’t need to be measured, so simple deburring is the fastest and most economical way to treat those edges.

Avoid specifying small inside radii for mold tools
For plastic injection molding and pressure die casting tools, a larger inside radius is necessary to allow the part to be removed from the tool after injection. A larger radius also avoids stress at the corner of the finished part, which can lead to premature part failure.
What radius should you specify on your next project?
For the majority of prototypes and low-volume production projects that we work on, our standard radius for turning and milling is the fastest and most cost-effective way to get you great parts. If you have a custom need we can probably do it – just talk to our team to see how it impacts the cost and lead time for your project.
Not sure if your radius is a critical dimension? When you contact us for a free quotation, we’ll do a review of your 2D and 3D drawings and will point out any areas – not just radii – where a drawing can be improved based on our experience. This is just one of the ways we work with you to help optimize your designs for manufacturing, so send us your files today and let’s get to work!

