Surface textures and patterns applied to plastic injection molded parts are becoming more sophisticated and complex. These advancements are exciting because they offer so many new design options for product developers and engineers. But before a finished part can be made, the injection molding tool must first be carefully manufactured. So how do manufacturers apply textured surfaces in a controlled and repeatable fashion to get the results that designers expect?
Let’s discuss the five most common methods. They are sanding and polishing, EDM spark erosion, media blasting, chemical photo etching, and laser etching.
1. Sanding and Polishing
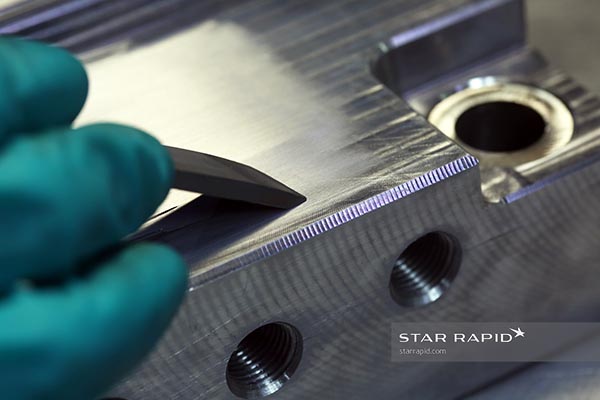
Rough machining always leaves behind some tool marks on the workpiece. Unless corrected these marks would then get transferred to the product upon molding and of course that’s undesirable.
So sanding and polishing removes these marks and other minor surface imperfections. This is done by skilled technicians using a variety of rotary tools, diamond burrs, sandpapers, files and other abrasives. The textures they can produce range from mirrored surfaces to coarsely grained or anything in between. But note that hand polishing creates a global effect, not a specific repeating pattern or obvious cosmetic design.
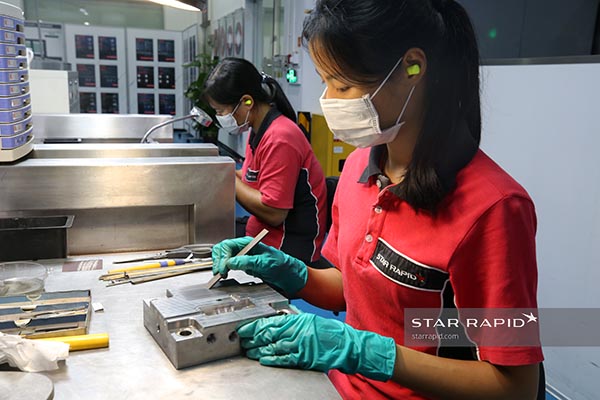
Sanding takes skill and a degree of artisanry, but technicians aren’t able to access deep pockets or very thin sections. Also, they must take care not to excessively alter the dimensional tolerances of the mold.
2. EDM Spark Erosion
EDM (Electrical Discharge Machining), also known as spark erosion, uses a graphite or copper electrode placed in an electrolytic bath of water or oil. When the electrode reaches a threshold current, it sparks against the tool wall. The target melts but is immediately quenched by the surrounding electrolyte. This results in a thermal shock that causes the metal to fragment into tiny particles which are then flushed away. All of this happens in a small fraction of a second.
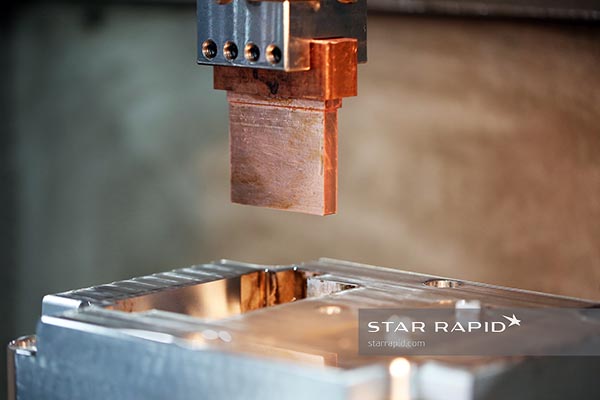
Spark erosion works on hard and soft metals alike and can produce very tight tolerances. It’s ideal for making deep thin slots, sharp concave corners, debossed lettering and other features that would otherwise be hard or impossible to machine conventionally. Also, a very fine and smooth finish can be achieved, which eliminates time-consuming and expensive hand polishing.
Large EDM electrodes were once used to apply a textured surface on mold tools, what was known as a “sparked finish”, but this technique has largely been replaced with chemical etching. All that remains is the name.
3. Media Blasting
High pressure air is used to spray various types of dry or wet abrasive media against the tool wall. Examples of these media would be silica (sand), aluminum oxide, glass or plastic beads, and even walnut shells. This is a great way to clean the tool while also imparting a uniform matte or satin finish. The type of media used, as well as the air pressure, volume and spray pattern determine the finished look.
Blasting is fast and inexpensive and consumes little raw material. Another advantage is that it can be controlled by skilled operators so a matte-finished area can nest up against a textured pattern with no overlap or interference between them.
4. Chemical Photoetching
Many plastic parts are designed with sophisticated in-molded patterns and textures. Some imitate the look of stone, leather or wood grain, while others produce more abstract geometrical designs. But how are these patterns applied to a mold tool? This is done by photoetching.
How does it work? First, the tool wall is coated with a photoresist, which is a light-sensitive chemical. The desired pattern is then projected onto the tool surface with a UV light, where any areas touched by the light are cured. The remaining photoresist then gets washed away, leaving behind a film mask.
Next, the mold is placed in an acid bath that etches away the unprotected areas thus creating the desired texture. The process must be carefully controlled to account for the type of base metal, the complexity of the design and the depth of surface penetration caused by the acid.
Etching is fast, cost-effective and can produce very fine textures to produce almost any look. But there are some limitations. Etching doesn’t work on undercuts or other areas where the optical line-of-sight is blocked. And patterns can get geometrically distorted over large, curved surface areas.
5. Laser Etching
It’s now possible to map almost any texture onto any curved surface with laser etching. The success of this process depends on combining two technologies.
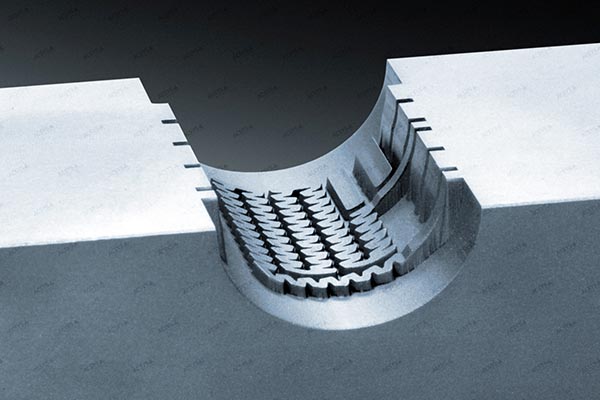
The first is 3D computer modeling. This lets a designer take a map of the texture and align it with the contours of almost any moldable shape, using sophisticated algorithms to maintain the design’s geometry.
The second technology is 5-axis motion control. This helps the laser accurately track over the surface topology while also reaching undercuts and other areas not in the line-of-sight.
Laser etching is common in the automotive field, where bigger forms, like a dashboard, need to have patterns that maintain their consistency over a long length. It’s more expensive than other methods and it takes time to create the necessary 3D CAD models but for the most demanding applications this is really the way to go.
Planning Your Next Project
Surface textures on production mold tools have a definite impact on cycle times, gate and runner locations, draft angles, tool life, cost and many other factors. Therefore, to get the maximum benefit from your tool investment you should work closely with your manufacturing partner to develop a tool design strategy that takes your texture needs into account. Star Rapid is standing by to offer our design for manufacturing support when you contact us for a free quotation and project review today.
Tagged:


